If you’ve been wondering how to paint textured walls in your King George, VA home, you’re not alone. These walls can hide a lot—nail holes, drywall patches, and years of wear, but painting them takes a different approach than flat surfaces.
A regular brush and a random paint roller won’t cut it, and doing it the wrong way usually means drips, patchy coverage, or worse… a lumpy mess that won’t go away.
Whether you’re dealing with knockdown texture in the hallway, orange peel in the bathroom, or popcorn ceilings in the bedroom, this guide will walk you through what works.
Let’s break down how to do this the right way.
Key Takeaways:
- Cleaning and priming are musts before painting any textured wall.
- Use a 1/2-inch or 3/4-inch nap roller depending on the texture type.
- Eggshell and satin finishes work best for durability and light control.
- Avoid sanding textured walls—it can ruin the surface pattern.
- Work in small sections and remove painter’s tape while the paint is still wet.
How to Paint Textured Walls
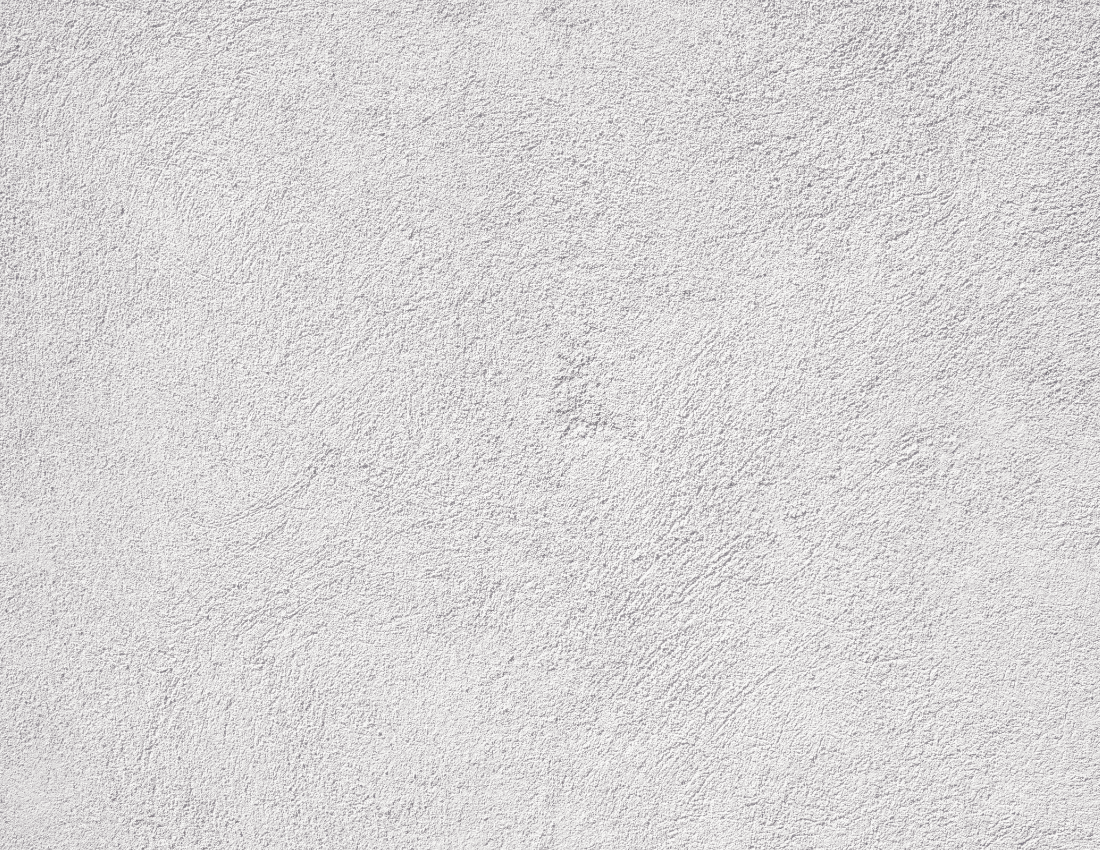
Painting textured walls starts with knowing what kind of surface you’re working with. Is it knockdown, orange peel, popcorn, or something custom like stucco or faux painting? Each one grabs paint differently, which affects everything from your tool choices to your drying times.
Before jumping in, here’s a quick heads-up: if you’ve had a hard time figuring out how to make a room look bigger, textured walls and paint sheen play a huge role in how light moves across the surface. Keep that in mind when picking color and finish.
Now, let’s walk through the prep and paint process.
1. Clean the Walls Thoroughly
Textured surfaces collect dust, spider webs, and tiny bits of mud and grime that hide in the crevices. Even if it looks clean, it probably isn’t.
Use a shop vacuum with a brush attachment to remove loose dirt. For sticky areas (like near the kitchen stove or bathroom walls), a damp sponge or cloth with warm water and mild soap helps. Let it dry completely before moving on.
2. Repair Dents and Dings
You might think texture hides everything, but dents and scratches still show. Use putty or joint compound to fill in damaged areas. For small spots, a finger works better than a putty knife since it molds to the texture. Let it dry fully, and skip the sanding—sandpaper can flatten the texture and make things worse.
This is also a good time to remove outlet covers, mask off baseboards with painter’s tape, and protect nearby surfaces with plastic sheets or drop cloths.
3. Apply a Quality Primer
A solid coat of primer helps the paint stick evenly across bumps and crevices. If your texture includes popcorn or stucco, primer is especially helpful for filling porous areas and improving coverage.
Use a 1/2-inch to 3/4-inch nap paint roller to apply the primer. The thicker the texture (like orange peel or knockdown), the thicker your roller nap should be. Don’t overload the roller or it’ll drip.
Cut in edges with a 2-inch brush around ceiling, doors, and trim. If you’re repainting trim, a glossier latex paint like eggshell or satin works well there.
4. Choose the Right Paint and Finish
For textured walls, avoid flat finishes. They’re hard to clean and can get chalky fast. Instead, go for eggshell, satin, or even semi-gloss in high-traffic areas like hallways and bathrooms. These finishes reflect just enough light to highlight the texture without drawing attention to imperfections.
Color-wise, lighter shades make a room feel more open and let texture take a back seat. You can explore that more in this interior painting guide, especially if you’re looking to update the whole home.
5. Use the Right Roller and Paint Tools
This part makes or breaks your results.
Use a paint roller with a nap thickness that matches your texture:
- 1/2-inch for light texture
- 3/4-inch for heavier patterns
- A sprayer can work well too but takes practice and proper masking
Always roll in sections (around 4-foot by 4-foot) and check for drips before moving on. Pressing too hard won’t push paint into grooves—it just causes streaks. Let the roller do the work.
For edges and corners, a paintbrush or small roller helps get the coverage right without overloading.
6. Apply a Second Coat
Most of the time, one coat of primer and one coat of interior paint is enough for textured surfaces. But if you notice uneven color or thin spots, a second coat may help. Let the first coat dry completely to avoid peeling.
Don’t rush this part. Paint needs time to settle into textured surfaces before layering again.
7. Remove Tape Before the Paint Dries
This is the step many forget: pull your painter’s tape off while the paint is still tacky. If you wait too long, the paint can peel with the tape, especially on textured walls. If you’re taping off trim or painting over comb textures or plaster, go slow to keep the lines sharp.
Other Tips That Make a Big Difference
- Avoid sanding textured surfaces unless you’re planning to retexture. It smooths out what you’re trying to keep.
- For deep crevices, it’s okay to lightly dab the brush instead of brushing normally.
- Don’t use a foam roller. It won’t reach into the texture and waste paint.
- A flat finish may hide surface bumps ,but won’t be as washable, especially in humid areas like the bathroom.
- Test colors and finishes first—some color choices highlight shadows more than others.
Summary and Next Steps
So, how to paint textured walls? Textured walls might look tricky at first, but with the right paint, primer, and tools, they can turn into a real asset in your home. From knockdown texture to popcorn ceiling, it’s all about working with the surface, not against it.
If you’re looking for professional painters in King George, VA who actually understand the difference between flat drywall and highly textured surfaces, Medias Painting LLC has a dedicated team that delivers smooth, even results every time.
Here’s what working with us looks like:
- We evaluate your current texture and recommend the best paint finish
- We prep the surface completely, from tape to plaster patching
- We use the right rollers and tools for your texture type
- We clean up thoroughly and leave your room move-in ready
- We keep you updated from prep through final walkthrough
Call us at 540-210-1363 for a FREE estimate


