If you’ve ever tried painting cabinets, you know it’s not as simple as painting a wall. Getting that smooth, factory-grade finish requires more than patience — it demands the right products, precise prep, and professional-level technique.
Many homeowners are disappointed when their freshly painted cabinets start peeling, chipping, or turning tacky within weeks. The problem isn’t always the paint; it’s the process. The subtle, technical steps that pros rely on — from degreasing and priming to curing and sealing — make all the difference between frustration and flawless results.
The good news? You can achieve stunning results that look like a professional cabinet painting service did the work — without paying for a full refinish. These six expert-approved hacks, used daily by pros like Medias Painting LLC, will help you avoid the most common pitfalls of painting cabinets while producing a smooth, durable finish that lasts.
Key Takeaways
Why Painting Cabinets Requires Precision
Painting cabinets is one of the most rewarding upgrades you can do for your kitchen — but also one of the most technical. Unlike walls, cabinets are handled constantly, exposed to heat, grease, and moisture. Their surfaces — wood, MDF, or laminate — are often coated or sealed, making paint adhesion tricky.
Professional painters follow a multi-step system:
Skipping even one of these steps leads to peeling, bubbling, or dull finishes. Each hack below builds on these fundamentals — real methods from professionals who specialize in cabinet painting every week in Woodbridge, VA.
6 Expert Hacks for Flawless Cabinet Painting
|
Expert Hack |
Problem It Solves |
Pro Technique or Product Used |
|
1. Deep Degreasing |
Peeling paint, poor adhesion |
Krud Kutter or TSP degreaser + scuff sanding |
|
2. Use Bonding Primer |
Paint won’t stick to glossy/laminate |
INSL-X STIX or BIN Shellac primer |
|
3. Label & Spray Separately |
Uneven edges, drips |
Label hardware, horizontal spraying setup |
|
4. Thin, Leveling Coats |
Brush marks, streaks |
Benjamin Moore Advance / Emerald Urethane |
|
5. Control Environment |
Dust, humidity, tacky finish |
Paint at 65–75°F, <60% humidity |
|
6. Cure & Protect |
Scratches, fading |
21–30 day curing, optional polyurethane coat |
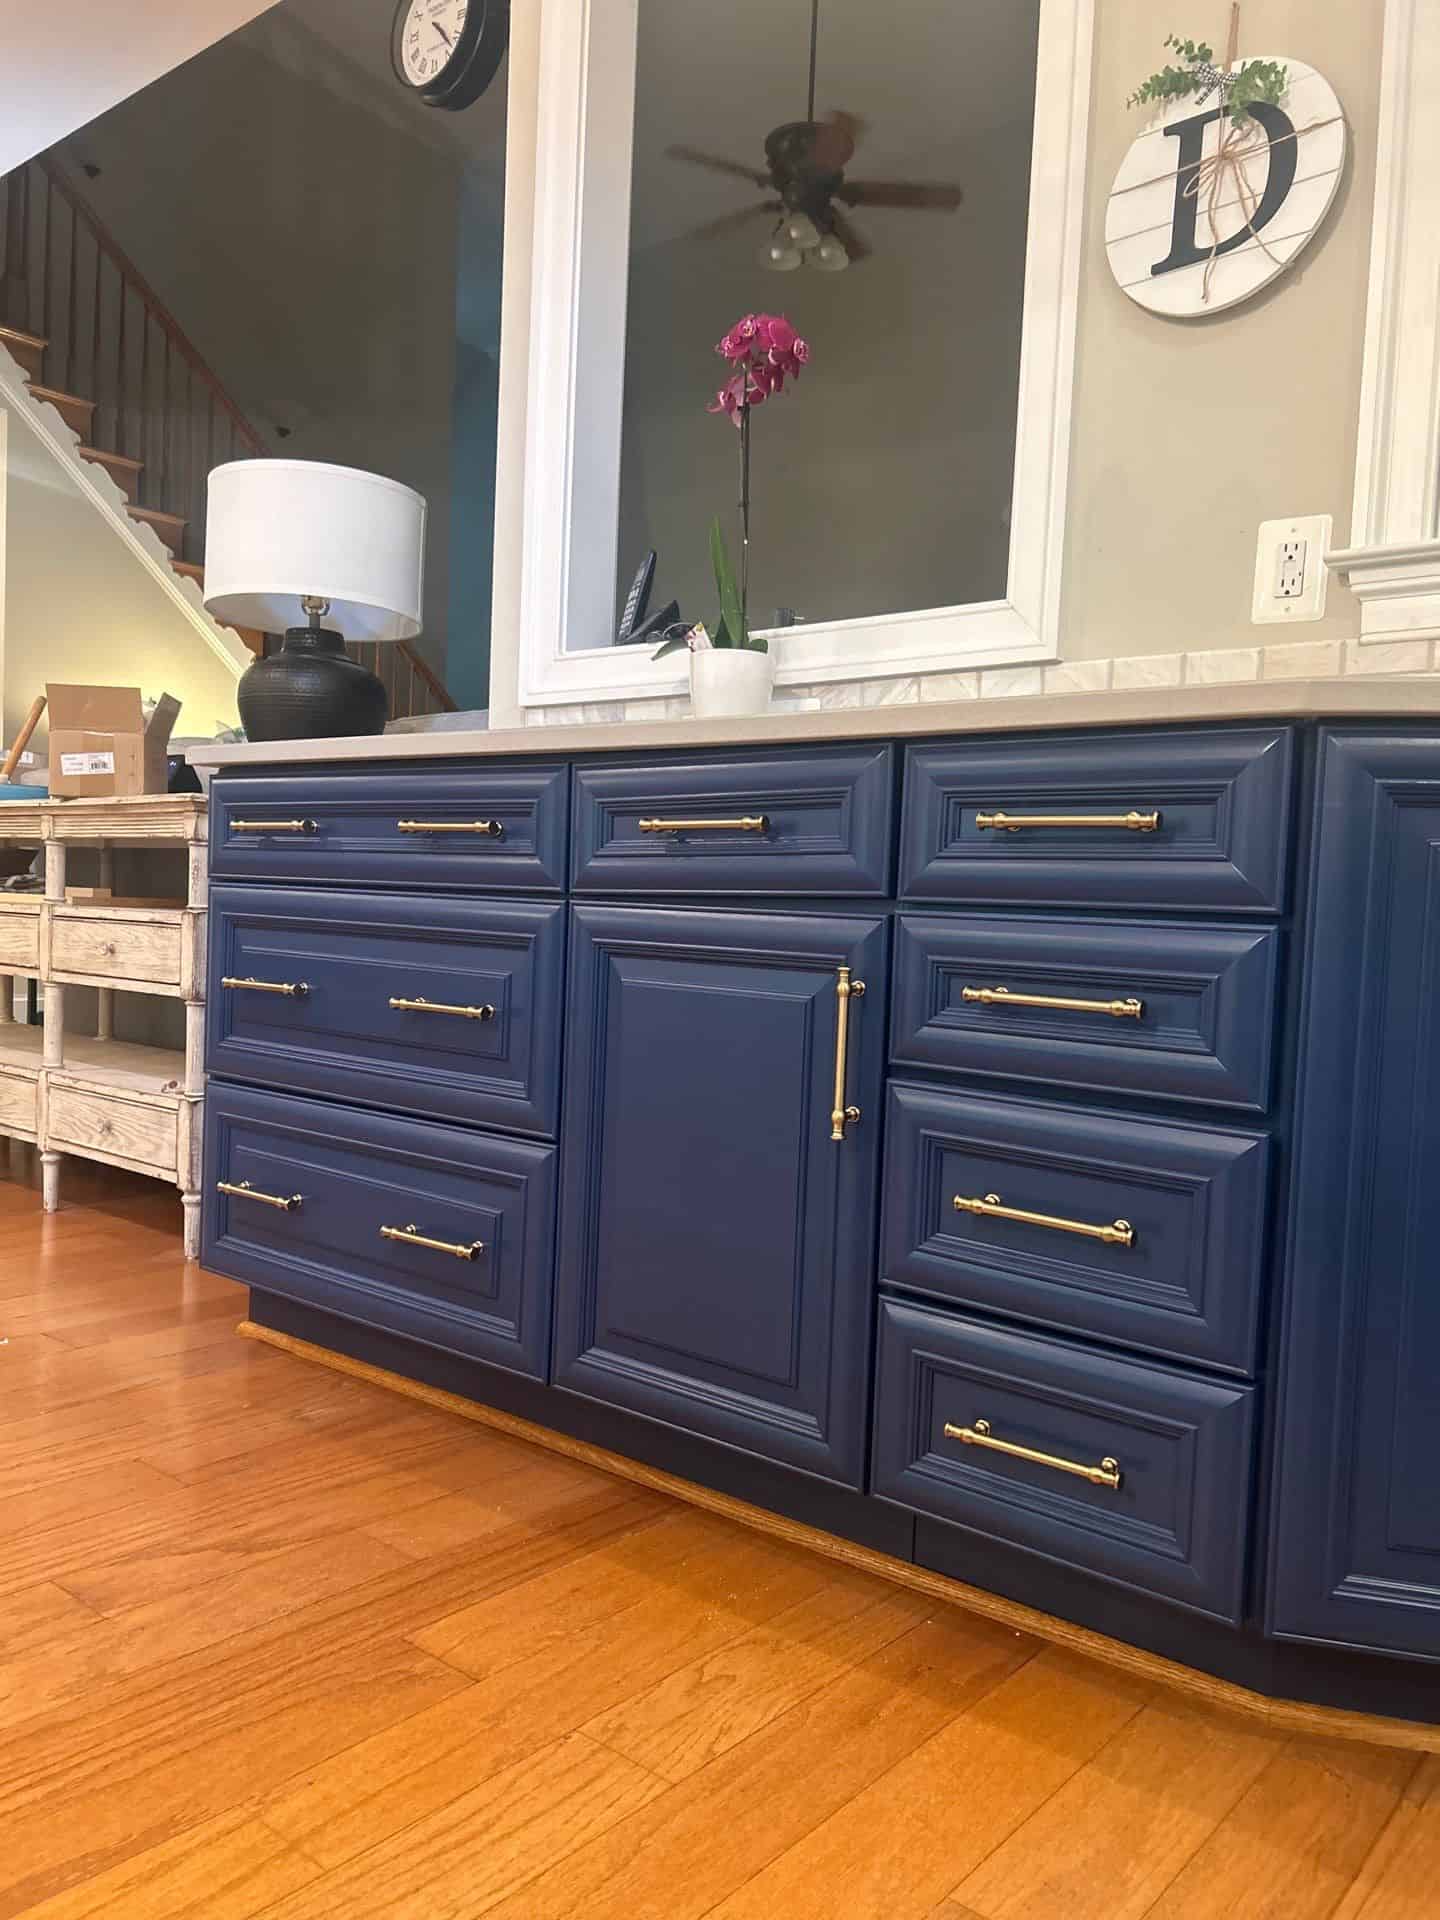
Hack #1: Deep Degreasing Before Sanding
One of the biggest causes of painting cabinets failure is skipping the degreasing step. Cabinet surfaces accumulate invisible layers of oils and silicone-based cleaners that repel paint.
Pro Fix:
- Wipe every surface with Krud Kutter Gloss-Off or a TSP substitute.
- Rinse thoroughly with warm water, then allow full drying.
- Lightly sand with 180-grit paper to break surface tension.
Professional cabinet painters consider cleaning the single most important part of prep — often repeating the process twice before priming. Without it, even top-quality paint systems can fail prematurely.
Hack #2: Always Use a Bonding Primer
Paint adhesion depends entirely on the primer beneath it. Homeowners often skip this step, thinking their “paint and primer in one” will suffice. On cabinets, that’s a costly mistake.
Pro Fix:
- For wood, use Zinsser BIN Shellac-Based Primer — it seals stains and prevents tannin bleed.
- For laminate or MDF, apply INSL-X STIX Waterborne Bonding Primer, designed for slick surfaces.
- Sand lightly (320-grit) between coats for a smooth, paint-ready surface.
A proper bonding primer acts like double-sided tape for paint — locking it securely to even the most stubborn substrates.
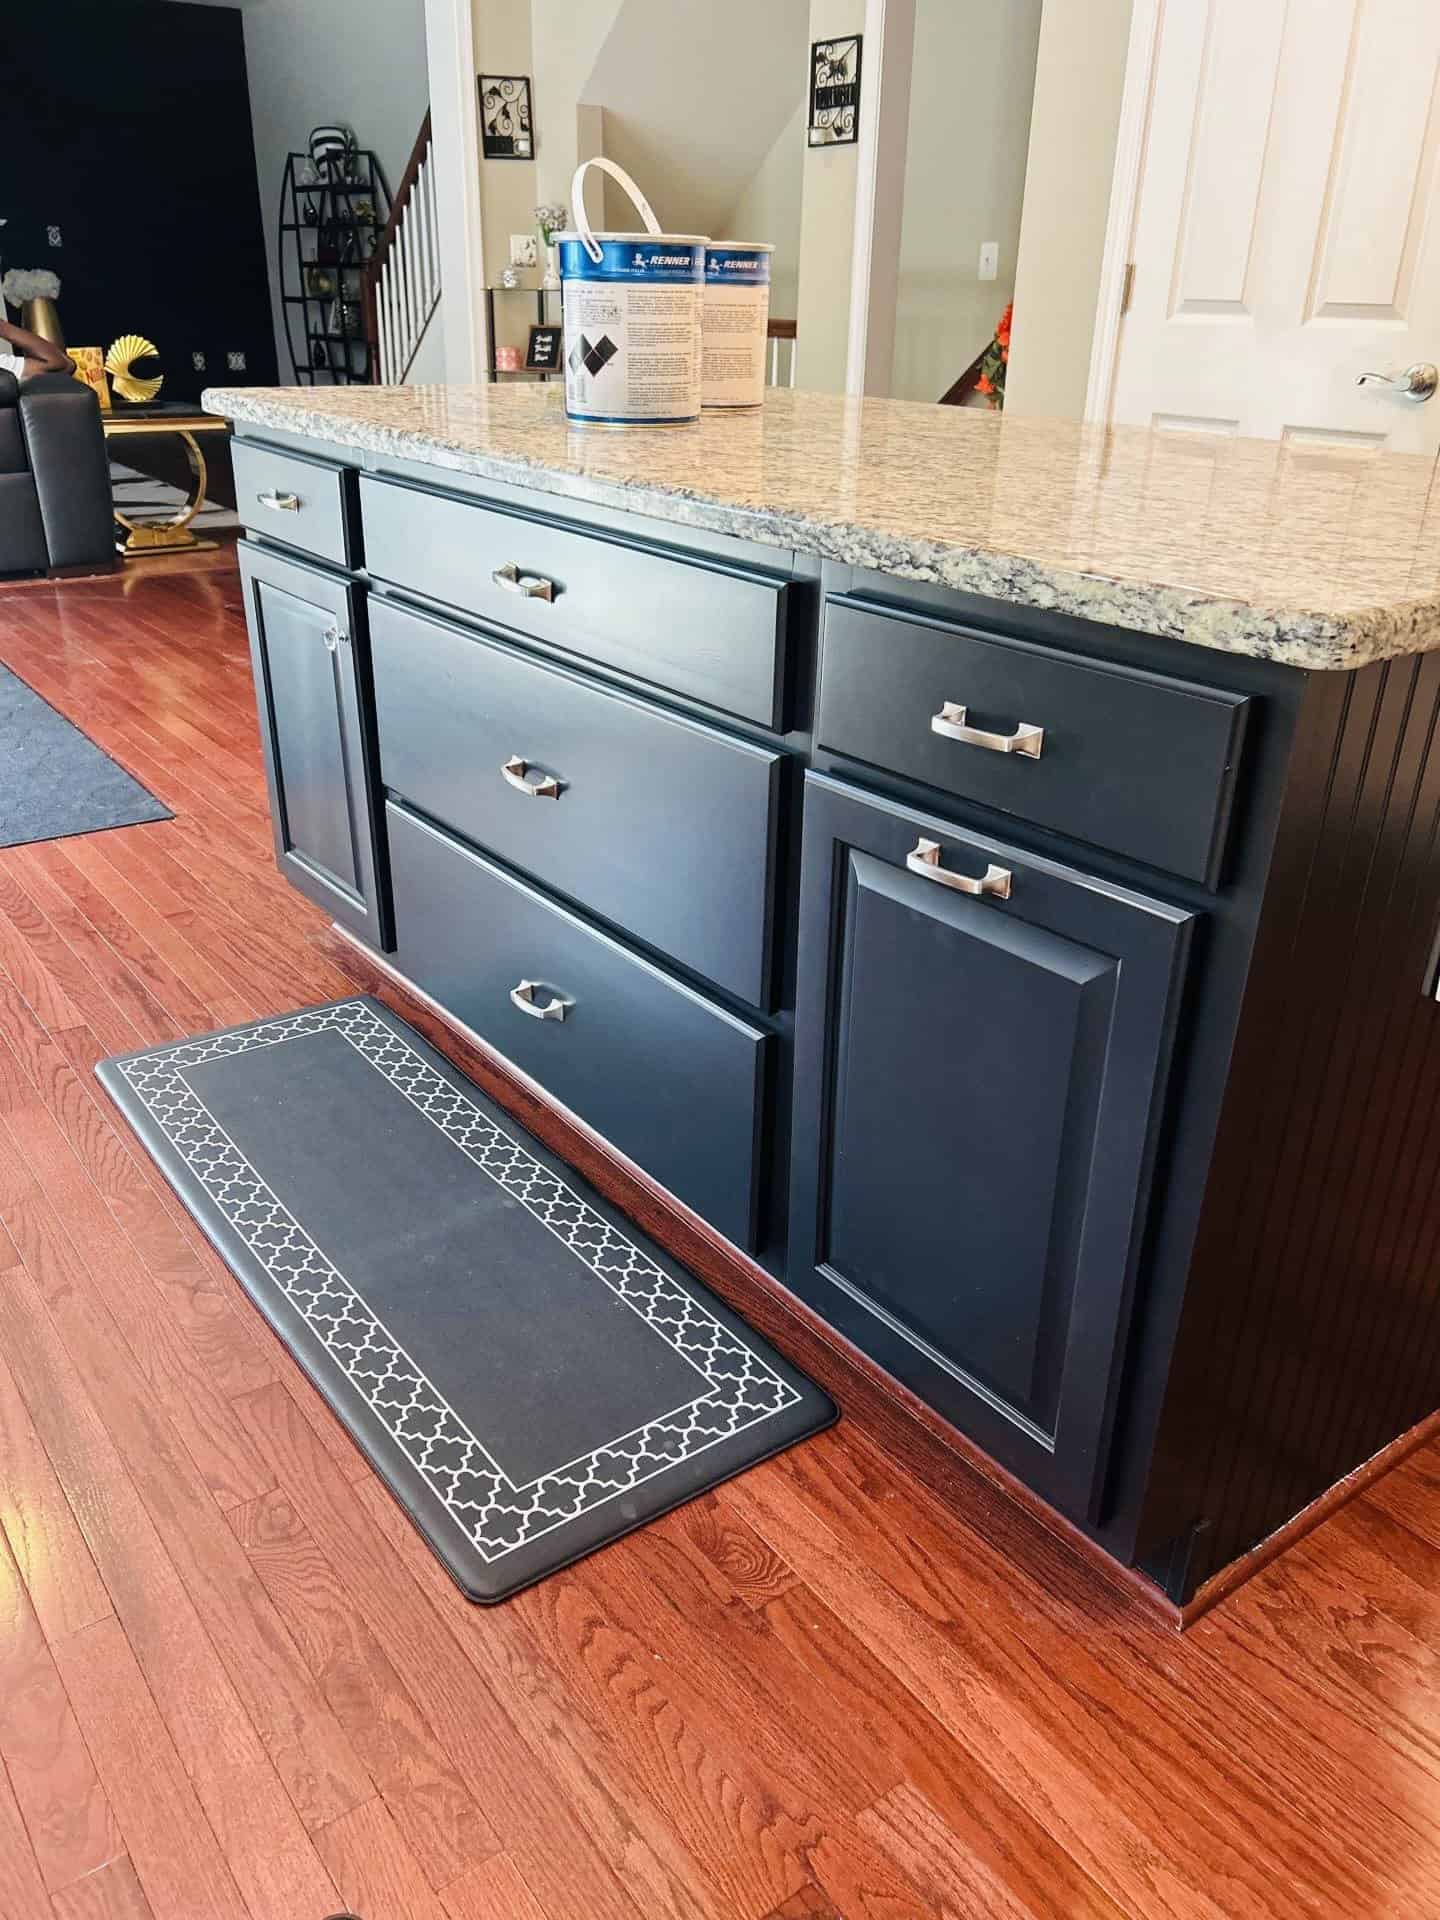
Hack #3: Label, Remove, and Paint Cabinets Separately
Painting cabinets in place often leads to drips, missed edges, and uneven sheen. Professionals take everything apart before starting.
Pro Fix:
- Remove doors, drawers, hinges, and handles.
- Label every piece — inside each hinge recess or on painter’s tape.
- Paint doors horizontally on risers or racks to prevent drips.
- Use HVLP (High Volume Low Pressure) sprayers for an even, brush-free finish.
If spraying isn’t an option, a microfiber roller provides excellent leveling with minimal texture.
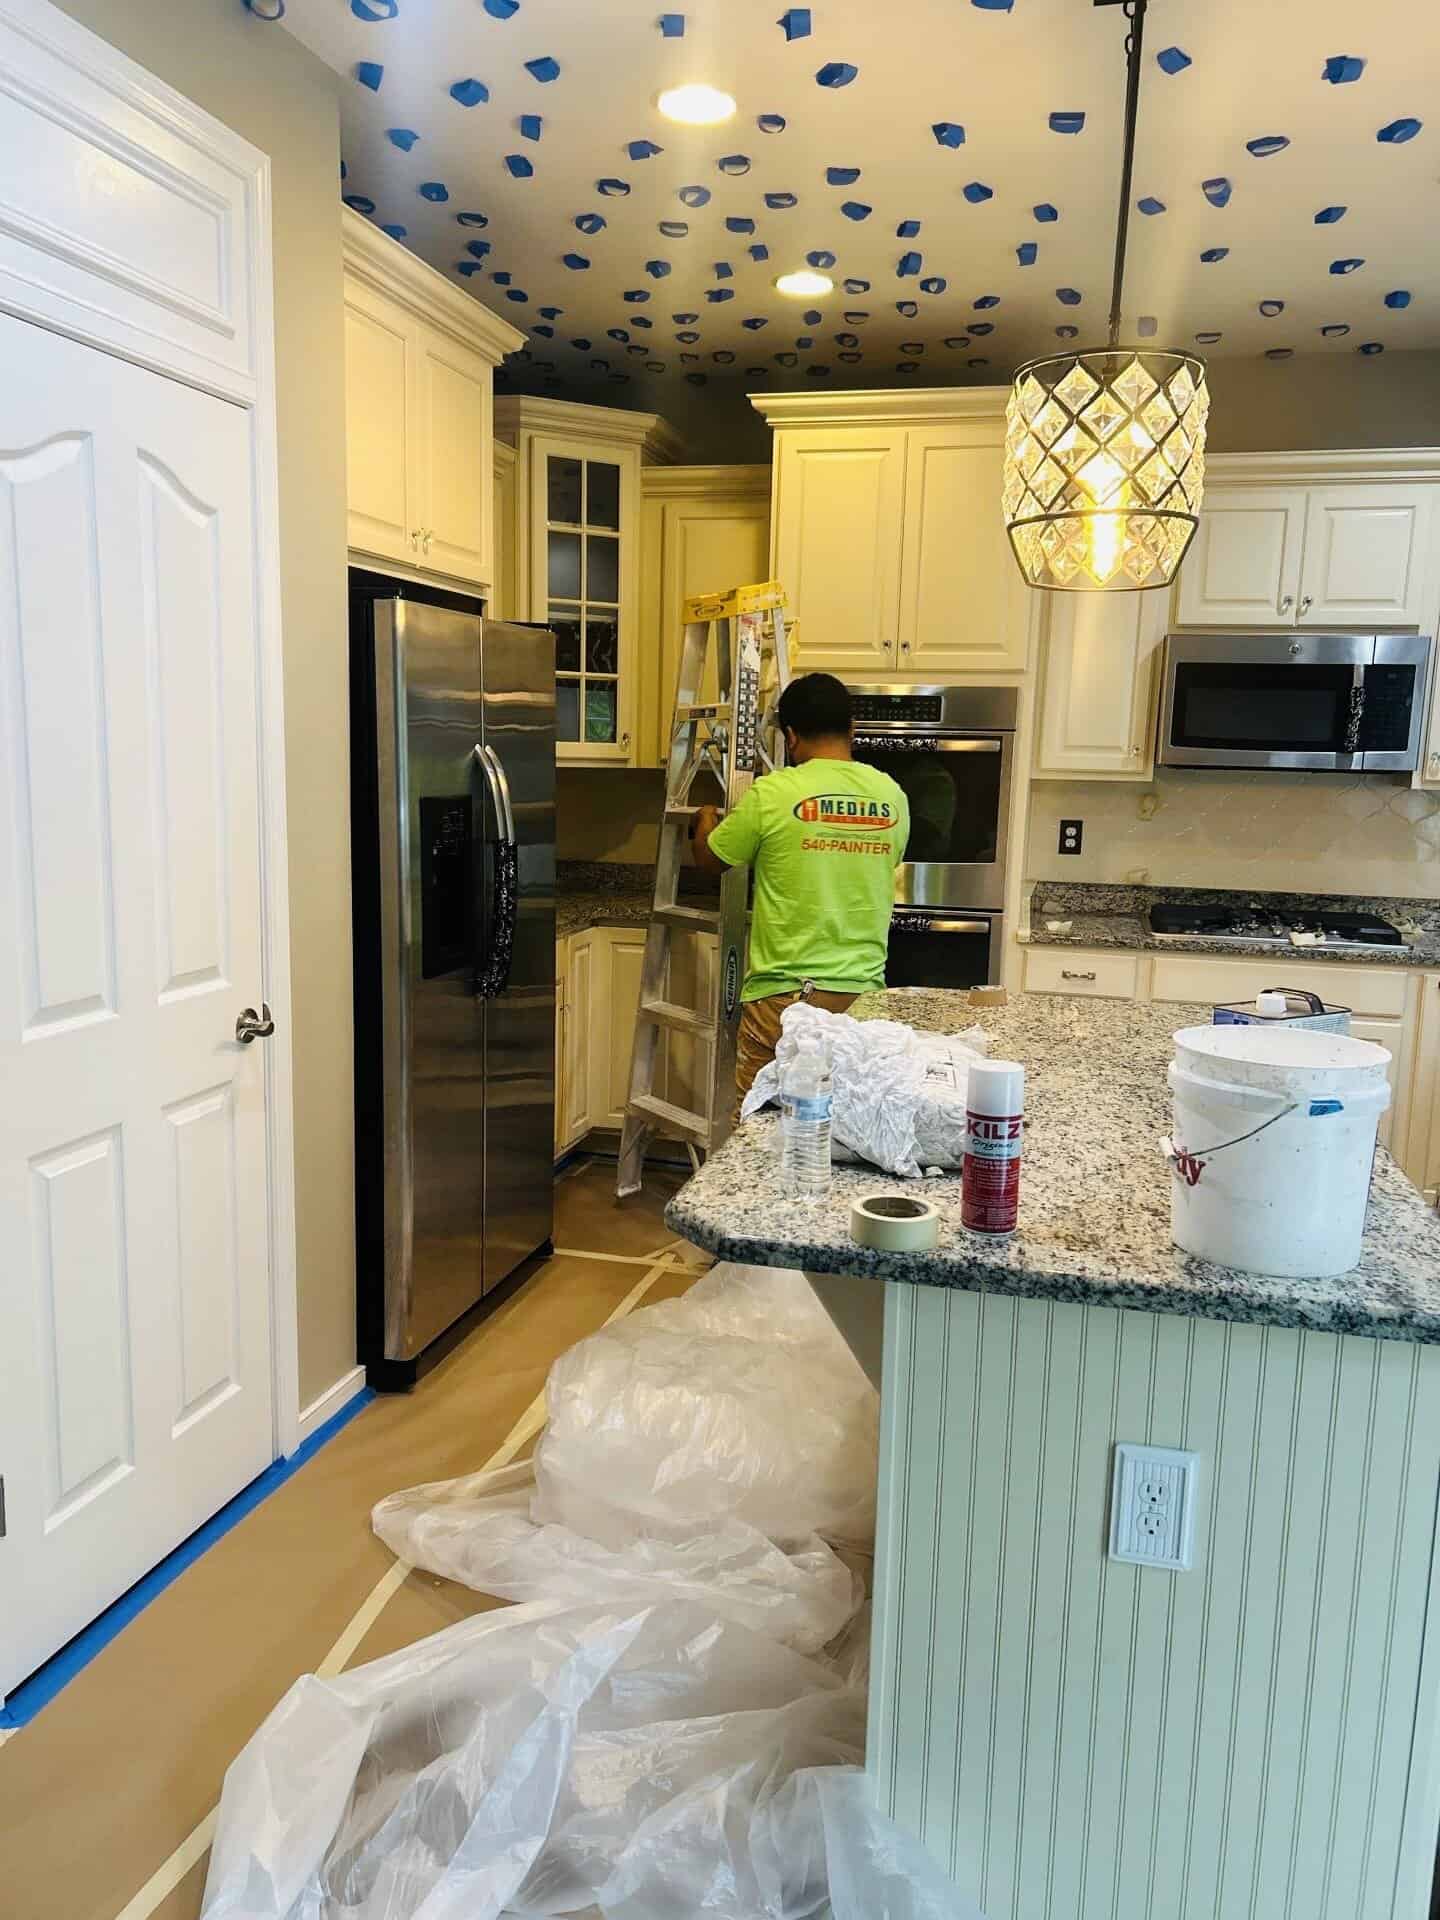
Professional teams like Medias Painting LLC set up dust-controlled spaces for cabinet painting projects — using enclosures with ventilation and filtration. Even for DIYers, creating a small “paint tent” can produce near-pro results.
Hack #4: Apply Multiple Thin, Leveling Coats
A thick coat of paint may seem like a time-saver, but it almost always results in drips and uneven curing.
Pro Fix:
- Apply thin, even coats using enamel paints such as Benjamin Moore Advance or Sherwin-Williams Emerald Urethane Trim Enamel.
- Allow 4–6 hours between waterborne coats and 24 hours between oil-based layers.
- Sand between coats with 320–400 grit for ultra-smoothness.
These professional enamels are formulated to self-level, leaving a mirror-smooth surface as they dry. Patience here defines whether your cabinets look “DIY painted” or “factory finished.”
Hack #5: Control Temperature, Humidity, and Dust
Your environment affects how paint behaves. Too cold, and paint won’t cure; too humid, and it stays tacky for days.
Pro Fix:
- Maintain 65–75°F temperature and under 60% humidity during application and drying.
- Use air purifiers or slightly damp floors to trap airborne dust.
- Avoid open windows or direct airflow that stirs particles.
Professional painters maintain controlled environments to ensure perfect curing. Homeowners can replicate this by painting indoors in climate-stable spaces and minimizing dust movement.
If you’re wondering how these environmental factors influence broader painting costs, see our guide on exterior painting cost factors.
Hack #6: Let Cabinets Cure — Then Protect the Finish
One of the most overlooked aspects of painting cabinets is curing time. Just because paint feels dry doesn’t mean it’s fully hardened.
Pro Fix:
- Allow 21–30 days for complete curing before reinstalling hardware or heavy use.
- Avoid cleaning or scrubbing surfaces during this period.
- For added protection, apply a clear waterborne polyurethane like General Finishes High Performance Poly.
Professionals know that curing transforms paint from soft to durable. Skipping this step often leads to premature wear, fingerprints, and peeling — issues that shorten the lifespan of your cabinet painting project.
How Professionals Streamline Cabinet Painting Projects
Homeowners often underestimate the amount of organization, space, and equipment needed for painting cabinets efficiently. Professional painters bring more than tools — they bring process discipline.
Typical professional workflow:
At Medias Painting LLC, expert painters use spray-grade coatings that level to a smooth, furniture-quality finish. Every door is labeled, sprayed flat, and cured under controlled conditions — eliminating the risk of brush marks or debris.
Professional systems also incorporate environmentally responsible materials. Homeowners can learn more about ecolabels on paint and standards on greener products through the EPA’s guide.
Common Questions About Painting Cabinets
Q1: Do I need to sand cabinets before priming?
Yes. Even with bonding primers, light sanding improves adhesion and smoothness. Use 180–220 grit to create a micro-textured surface for primer grip.
Q2: Can I paint over laminate cabinets?
Yes, but only with the right bonding primer like INSL-X STIX. Regular primers will peel from laminate surfaces.
Q3: What’s the best sheen for cabinets?
Semi-gloss or satin. These finishes balance durability with easy cleaning and resist fingerprints better than matte.
Q4: How long should cabinet paint cure before reinstallation?
Allow at least seven days for light use and 21–30 days for full cure. Curing is critical to achieve a factory-hard surface.
Q5: Can I skip the clear topcoat?
You can if you use a high-performance enamel. However, kitchens with heavy use benefit greatly from a polyurethane topcoat for extra scratch resistance.
Small Adjustments, Professional Results
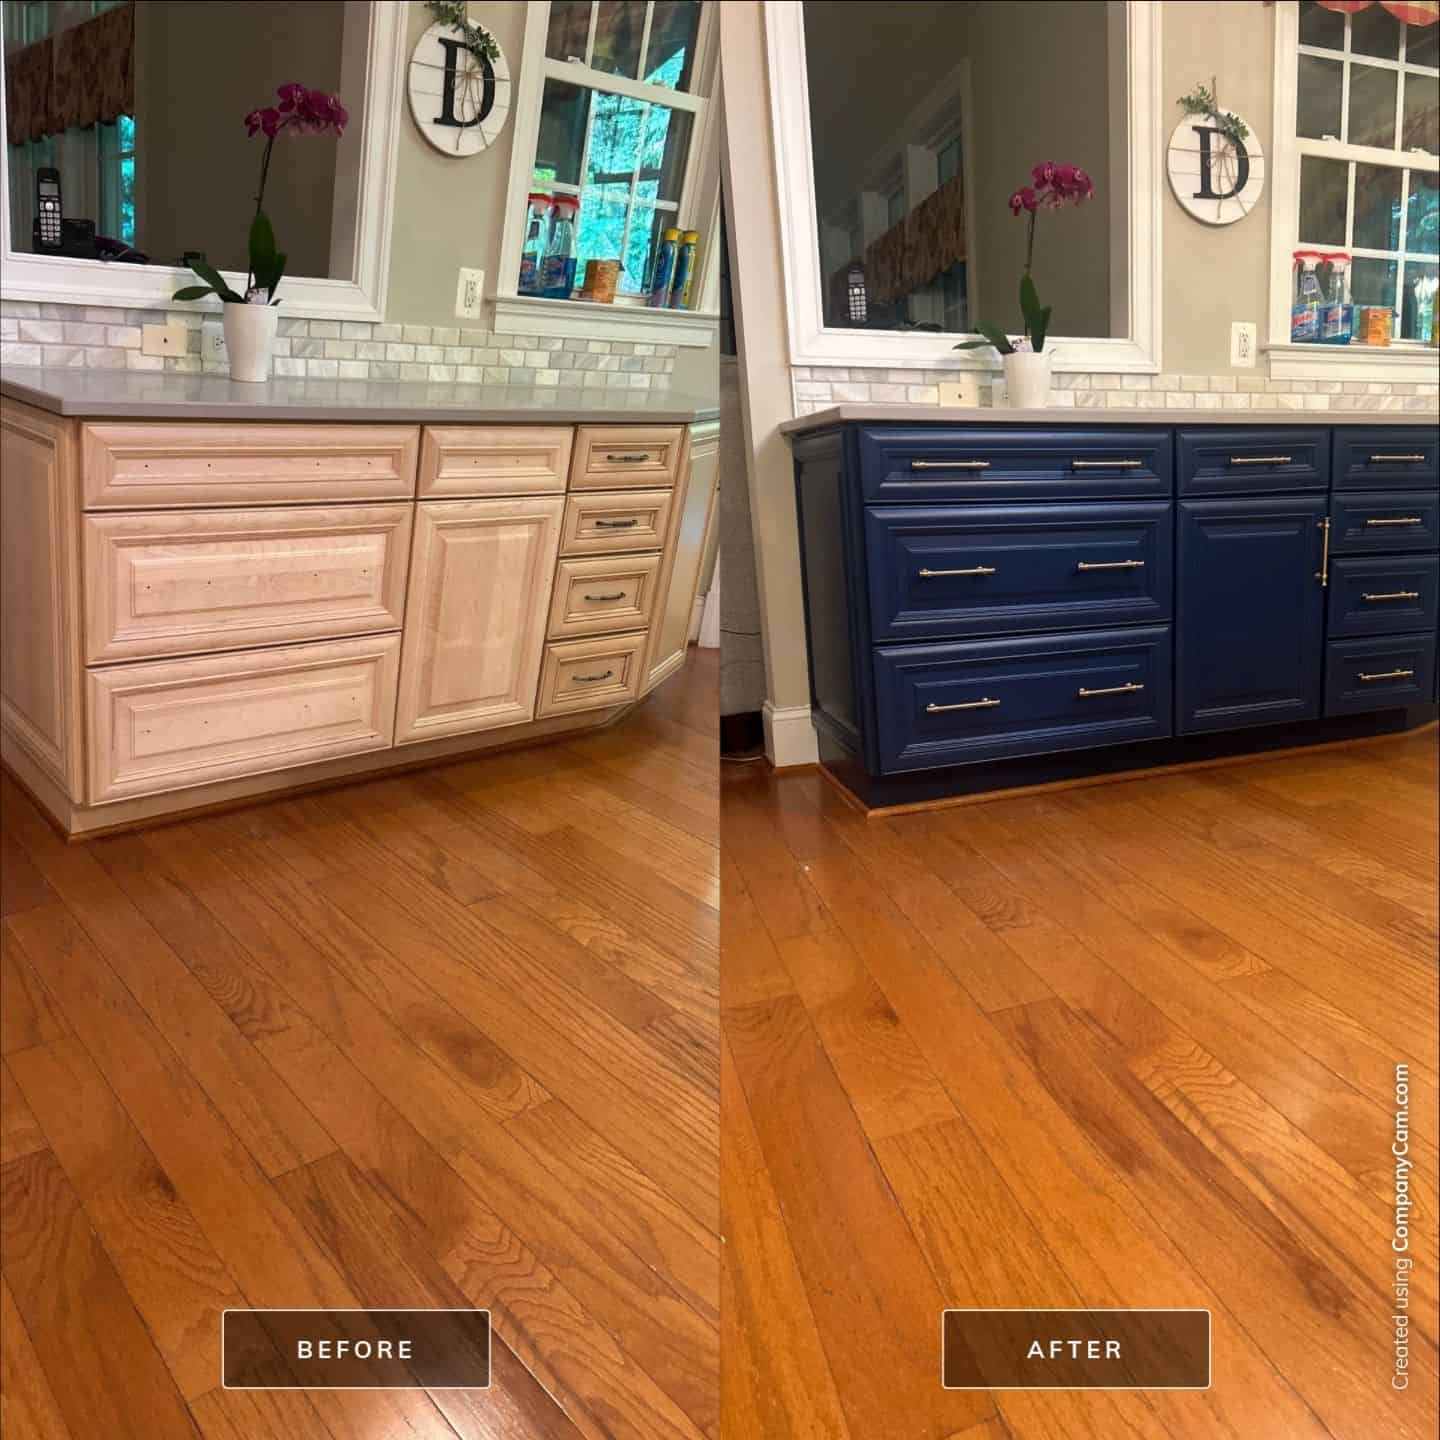
Mastering painting cabinets doesn’t require expensive tools — just attention to the right details. By cleaning thoroughly, using the proper bonding primer, applying multiple thin coats, and controlling the curing environment, you can transform dated cabinets into durable, modern showpieces.
Still, professional cabinet painters offer one unbeatable advantage: precision at scale. For homeowners in Woodbridge, VA, partnering with Medias Painting LLC ensures your cabinet painting project is handled with care, from prep to curing — delivering that flawless, factory-level finish every time.
Whether you DIY or hire professionals, these six expert hacks guarantee your next painting cabinets project not only looks amazing but stands the test of time

